Petri Dish
The petri dish station of the Dimension Icon Multi-Sample Chuck is designed for working with samples that require a fluid bath.
- Install a protective skirt on the Dimension Icon head (see Figure 1).
NOTE: Refer to the Dimension Icon Instruction Manual (available through the NanoScope 8.15 software) for instruction about operating your Dimension Icon in fluids.
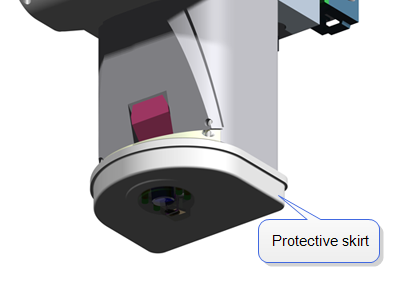
Figure 1: Protective skirt on Dimension Icon SPM head
- Install the O-ring in the groove for the petri dish.
- Using a supplied 0-80 x 1/8” 82° flat head screw, plug the vacuum hole that is not under the petri dish.
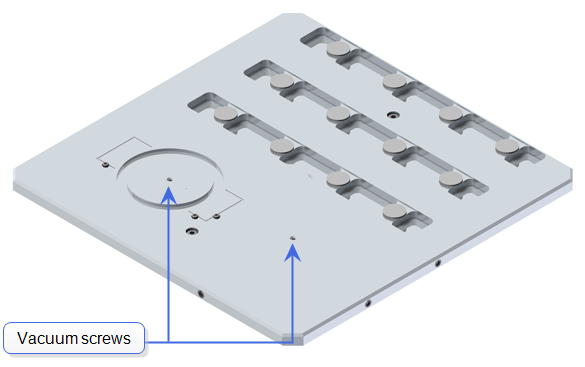
Figure 2: Vacuum screw locations. To use the petri dish, plug only the hole not within the petri dish groove.
- Using the camera/optics, find the alignment mark, shown in Figure 3.
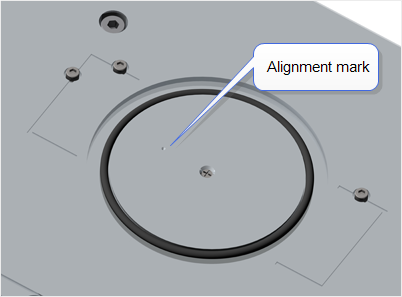
Figure 3: Petri dish alignment mark
- Click the Navigate icon in the Workflow Toolbar. This opens the Navigate window:
Figure 4: The alignment mark in the chuck viewed in the Navigate window
- Use the trackball or the XY Stage Control buttons in the Navigate window to center the alignment mark.
- Select the Set References option under the Stage menu. This opens the Set Reference panel, shown below.

- Select a coordinate system, either Cartesian (X,Y) or Polar (r, Theta).
- Select the Set Origin option.
- Click the Mark Point as Origin button to set the current stage position as the new origin.
- Using the Focus: Z Motor Up Arrow, raise the Dimension Icon head as far as it will go.
- Click the Move Sample to Load Position icon in the Navigate window.
- Place a 60 mm petri dish, supplied, on the Multi-Sample Chuck. See Figure 5.
Caution/Attention/Vorsicht: If the fluid level is too high, the end of the scanner tube may be dunked too far into fluid. Do not allow this to happen. Permanent damage to the scanner may occur.

Figure 5: Petri dish on Multi-Sample Chuck
- Turn the Chuck Vacuum On and verify that the petri dish is being held securely by the chuck vacuum.
- Click the Move Back to Analysis Position icon.
CAUTION: You can move the XY stage no more than 2000 μm in X or Y when the Dimension Icon head is lowered into the petri dish or the head will collide with the petri dish. Raise the Dimension Icon head to the Z+ limit when moving the XY stage distances greater than 2000 μm.
|
|
NOTE: You can always move to the petri dish position once the origin is set by selecting Stage > Move to (X, Y) with X = 0, Y = 0. See Figure 6. Ensure that the Dimension Icon head is fully raised before you do this.
|
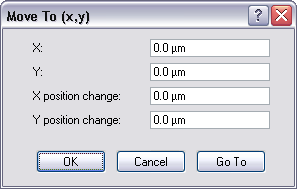
Figure 6: Move To X = 0, Y = 0
| www.bruker.com
|
Bruker Corporation |
| www.brukerafmprobes.com
|
112 Robin Hill Rd. |
| nanoscaleworld.bruker-axs.com/nanoscaleworld/
|
Santa Barbara, CA 93117 |
| |
|
| |
Customer Support: (800) 873-9750 |
| |
Copyright 2010, 2011. All Rights Reserved. |
Open topic with navigation